
Introduction:
Want to explore the power of large language models without relying on cloud services? This guide will walk you through the process of installing and running DeepSeek R1 locally on your Mac using LM Studio, a user-friendly interface for managing and interacting with LLMs.
Step 1: Downloading and Installing LM Studio
First, head over to the official LM Studio website https://lmstudio.ai/. Locate the macOS download link and click it. Once the download is complete, open the .dmg file and drag the LM Studio application to your Applications folder, just like any other Mac app.
Step 2: Launching LM Studio and Finding DeepSeek R1
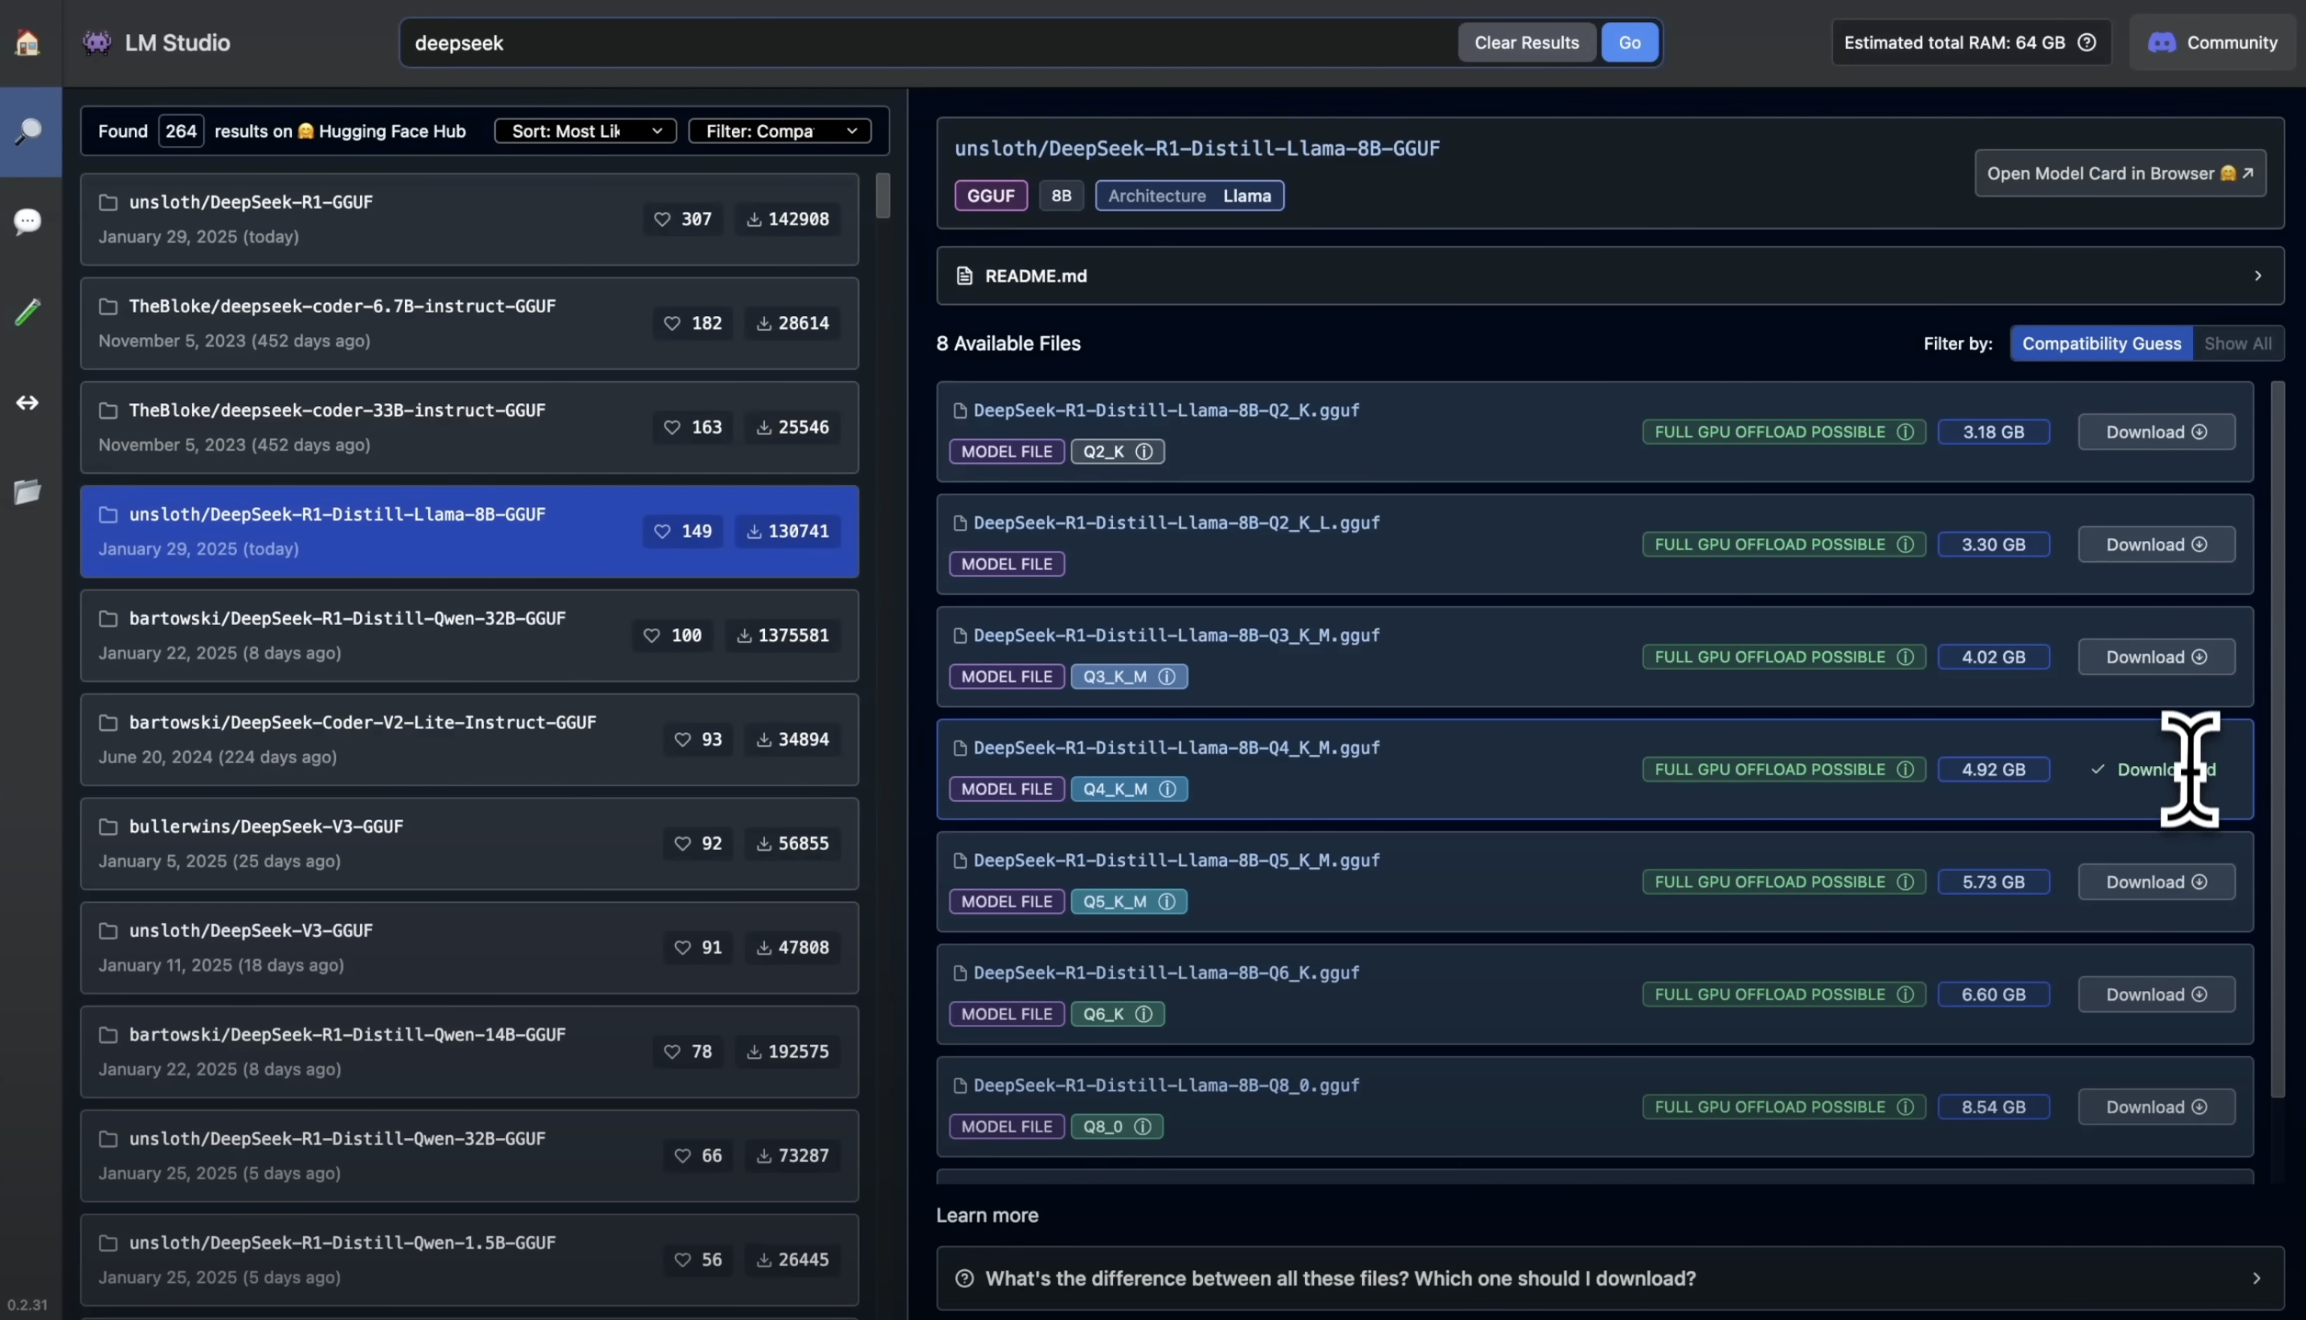
Open LM Studio from your Applications folder. You’ll be greeted with the main interface. Use the search bar at the top to search for “DeepSeek R1”. You’ll likely find a few options, including different sizes or quantized versions. For this tutorial, we’ll use the ‘DeepSeek R1 Distill (Qwen 8B)’ model, which offers a good balance between performance and resource usage.

Step 3: Downloading the Model
Click on the DeepSeek R1 model in the search results. This will take you to the model’s page within LM Studio. You should see a download button. Click it to begin the download. Be aware that this model is several gigabytes in size, so the download time will depend on your internet connection. Make sure you have sufficient disk space available.
Step 4: Loading the Model
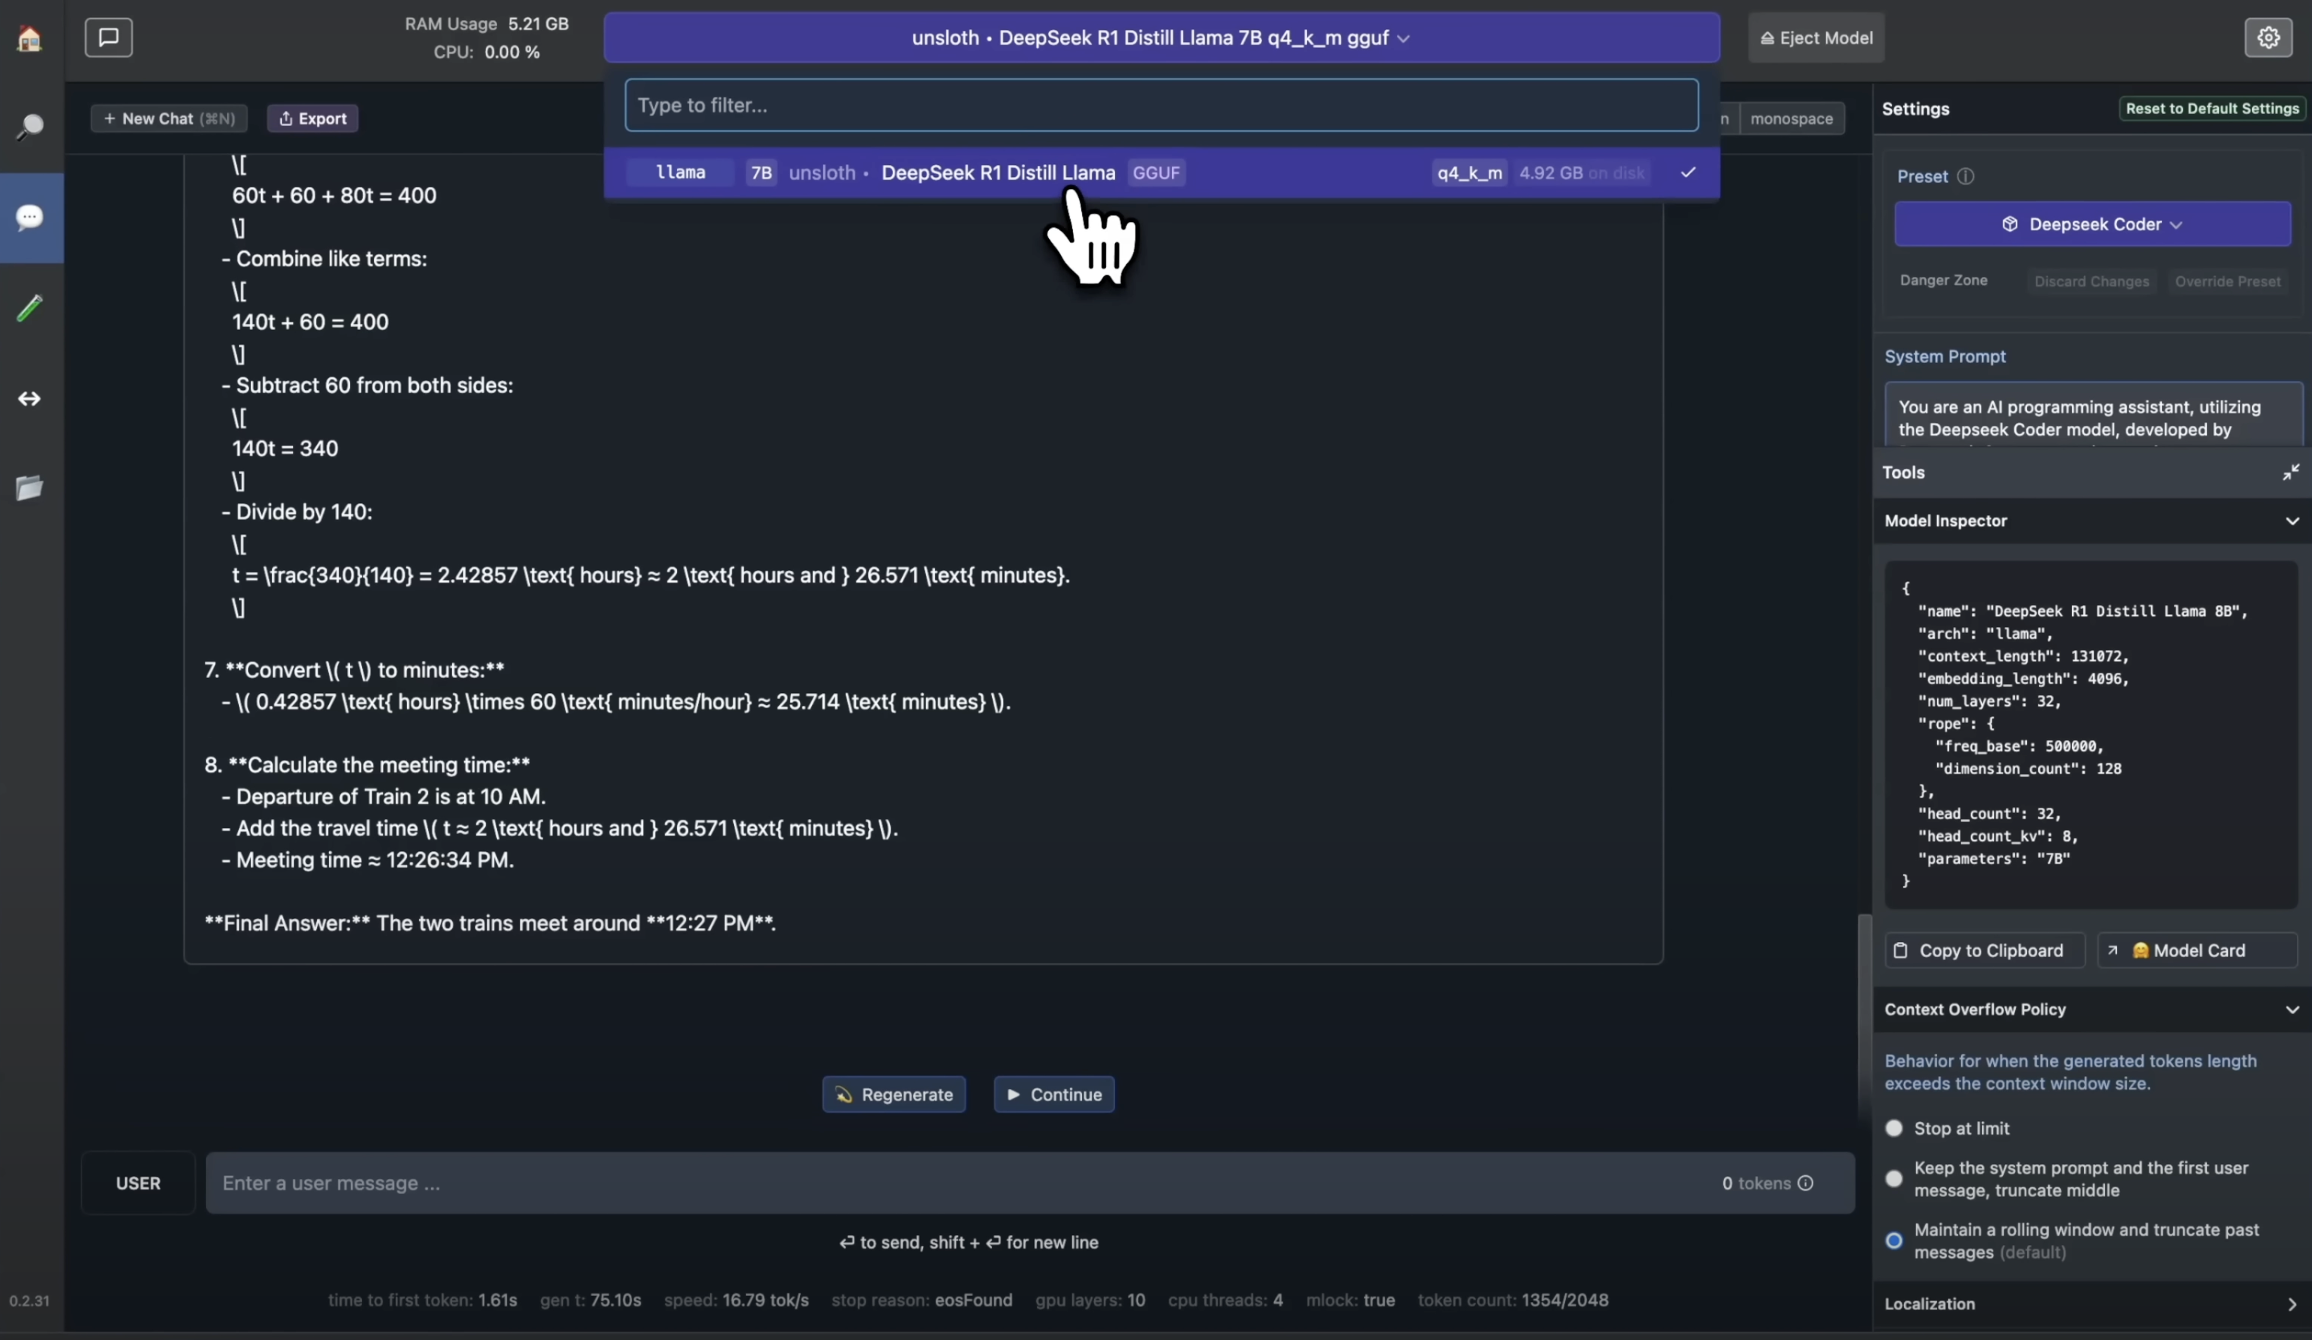
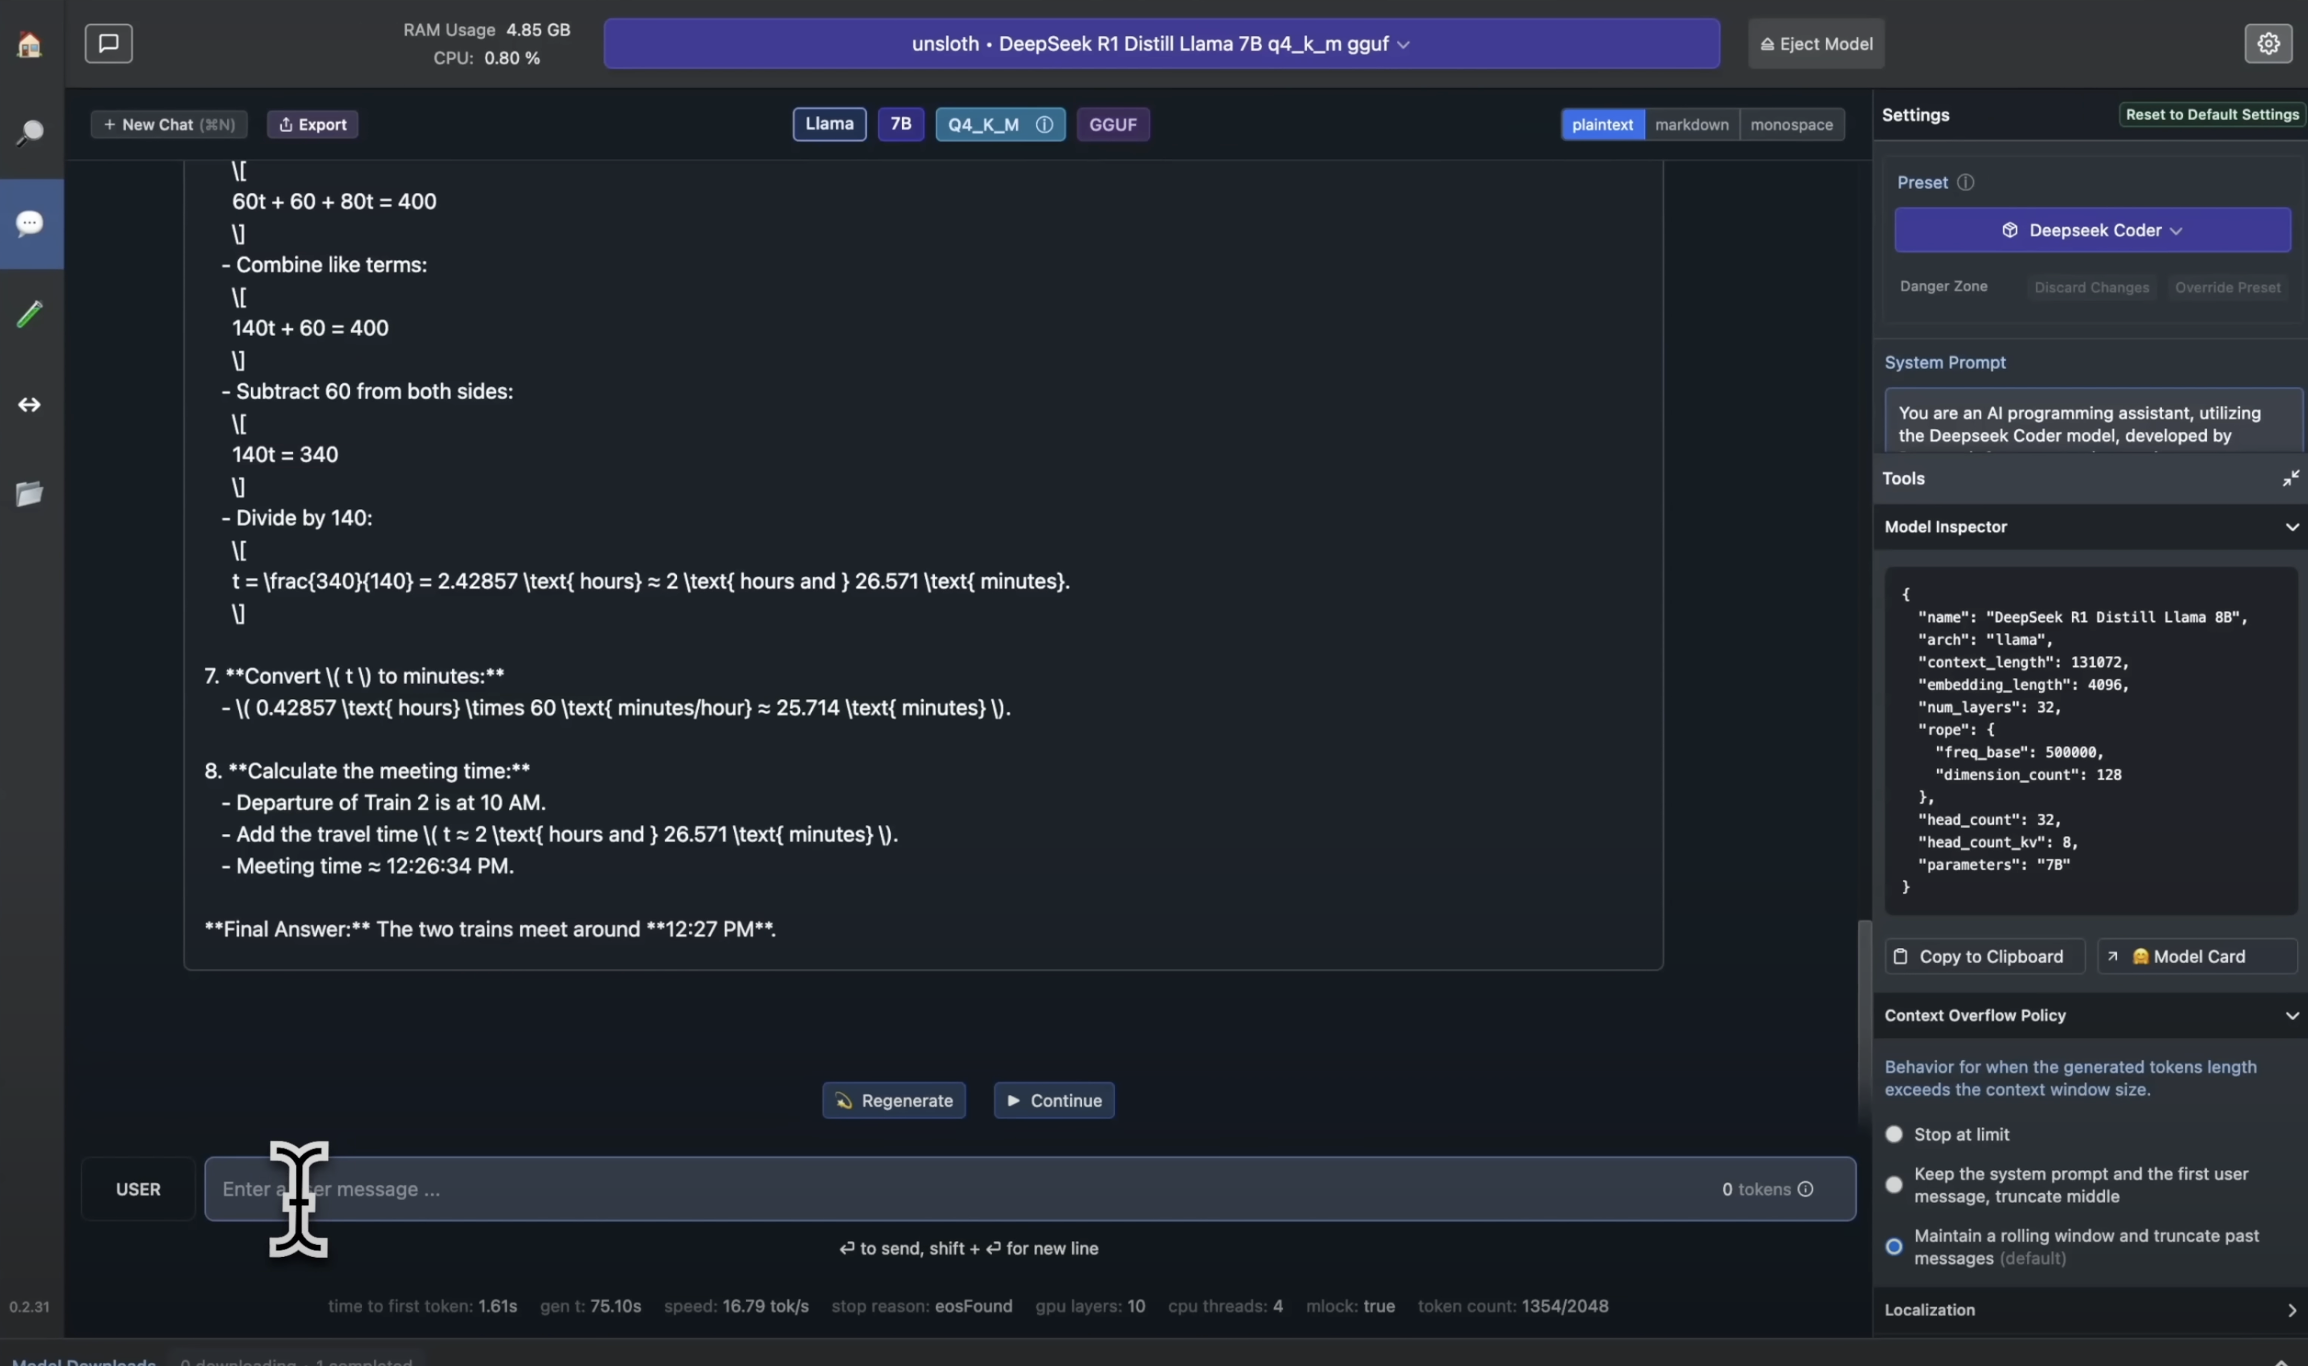
Once the download is finished, navigate to the “Chat” tab in LM Studio. In the model selection dropdown, choose the DeepSeek R1 model you just downloaded. LM Studio will now load the model into memory. This might take a few moments.
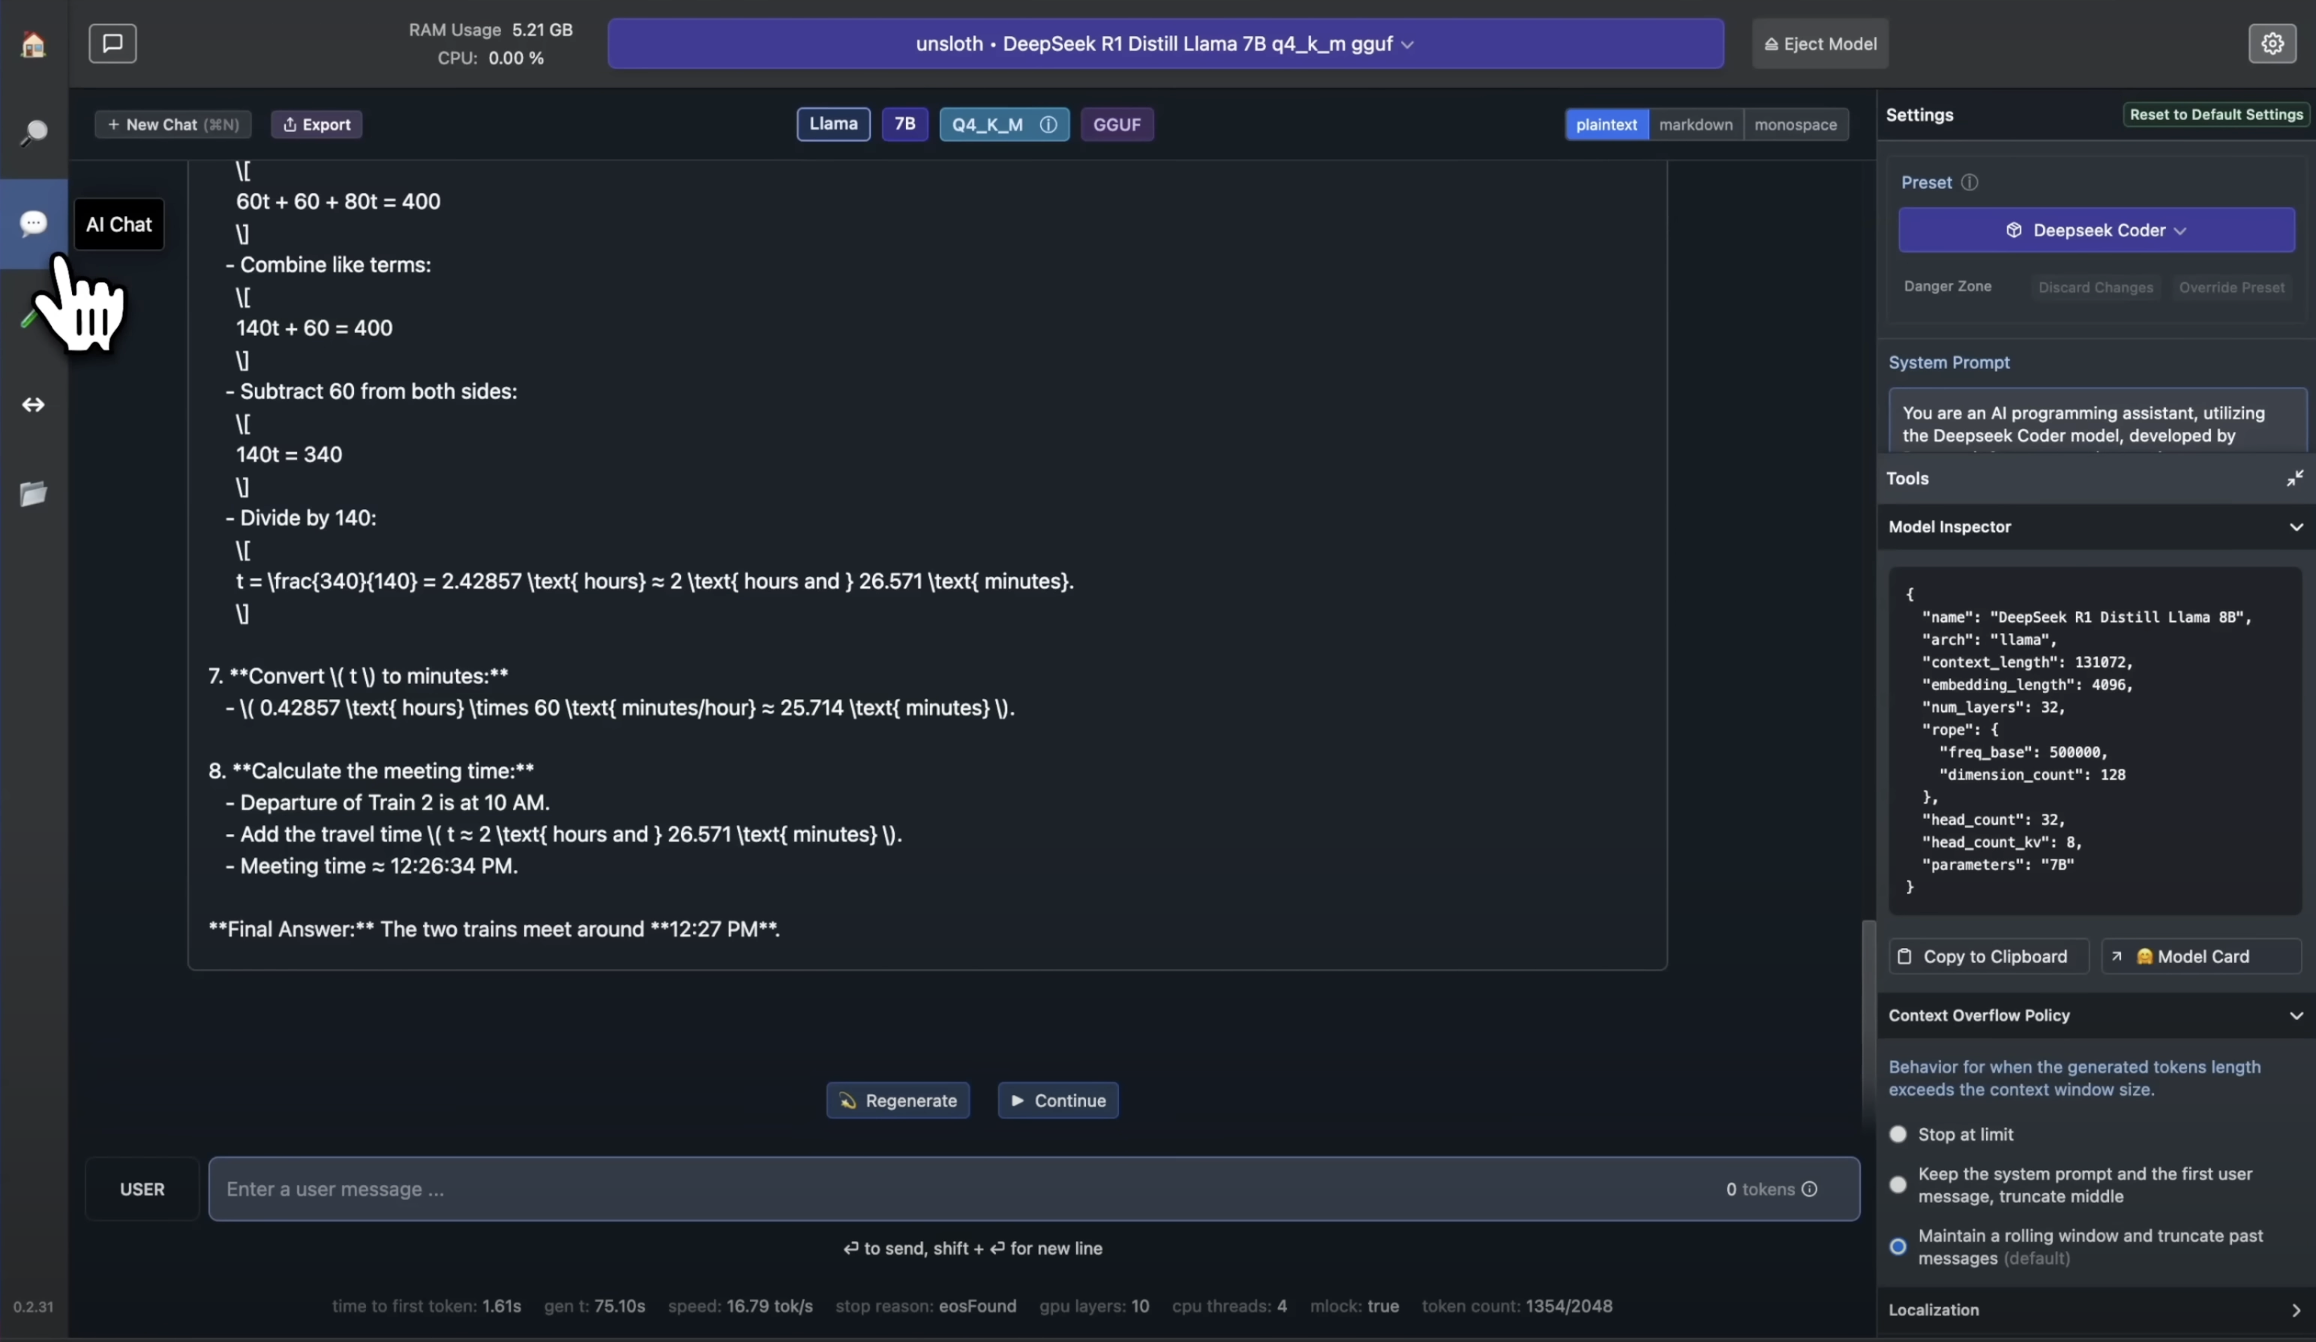
Step 5: Starting a Chat
Now you’re ready to chat! Type your prompt in the chat box and press Enter. DeepSeek R1 will process your request and generate a response. Experiment with different prompts and see what the model can do.
Troubleshooting (Optional)
If you encounter any errors, especially related to memory, you might need to adjust the ‘GPU offload’ setting in LM Studio’s settings. Try setting it to 0. This will use your CPU more and might be slower, but it can help with memory issues.
Conclusion:
Congratulations! You’ve successfully installed and run DeepSeek R1 locally on your Mac using LM Studio. Now you can explore the capabilities of this powerful language model without needing an internet connection. Have fun experimenting!
Share your experiences and interesting outputs from DeepSeek R1 in the comments below!